SmartChamber-3D
Home
Donate
Get a Free Activation Code
🌏Languages / 语言
🌏Languages / 语言
English
简体中文
Search
Ctrl
K
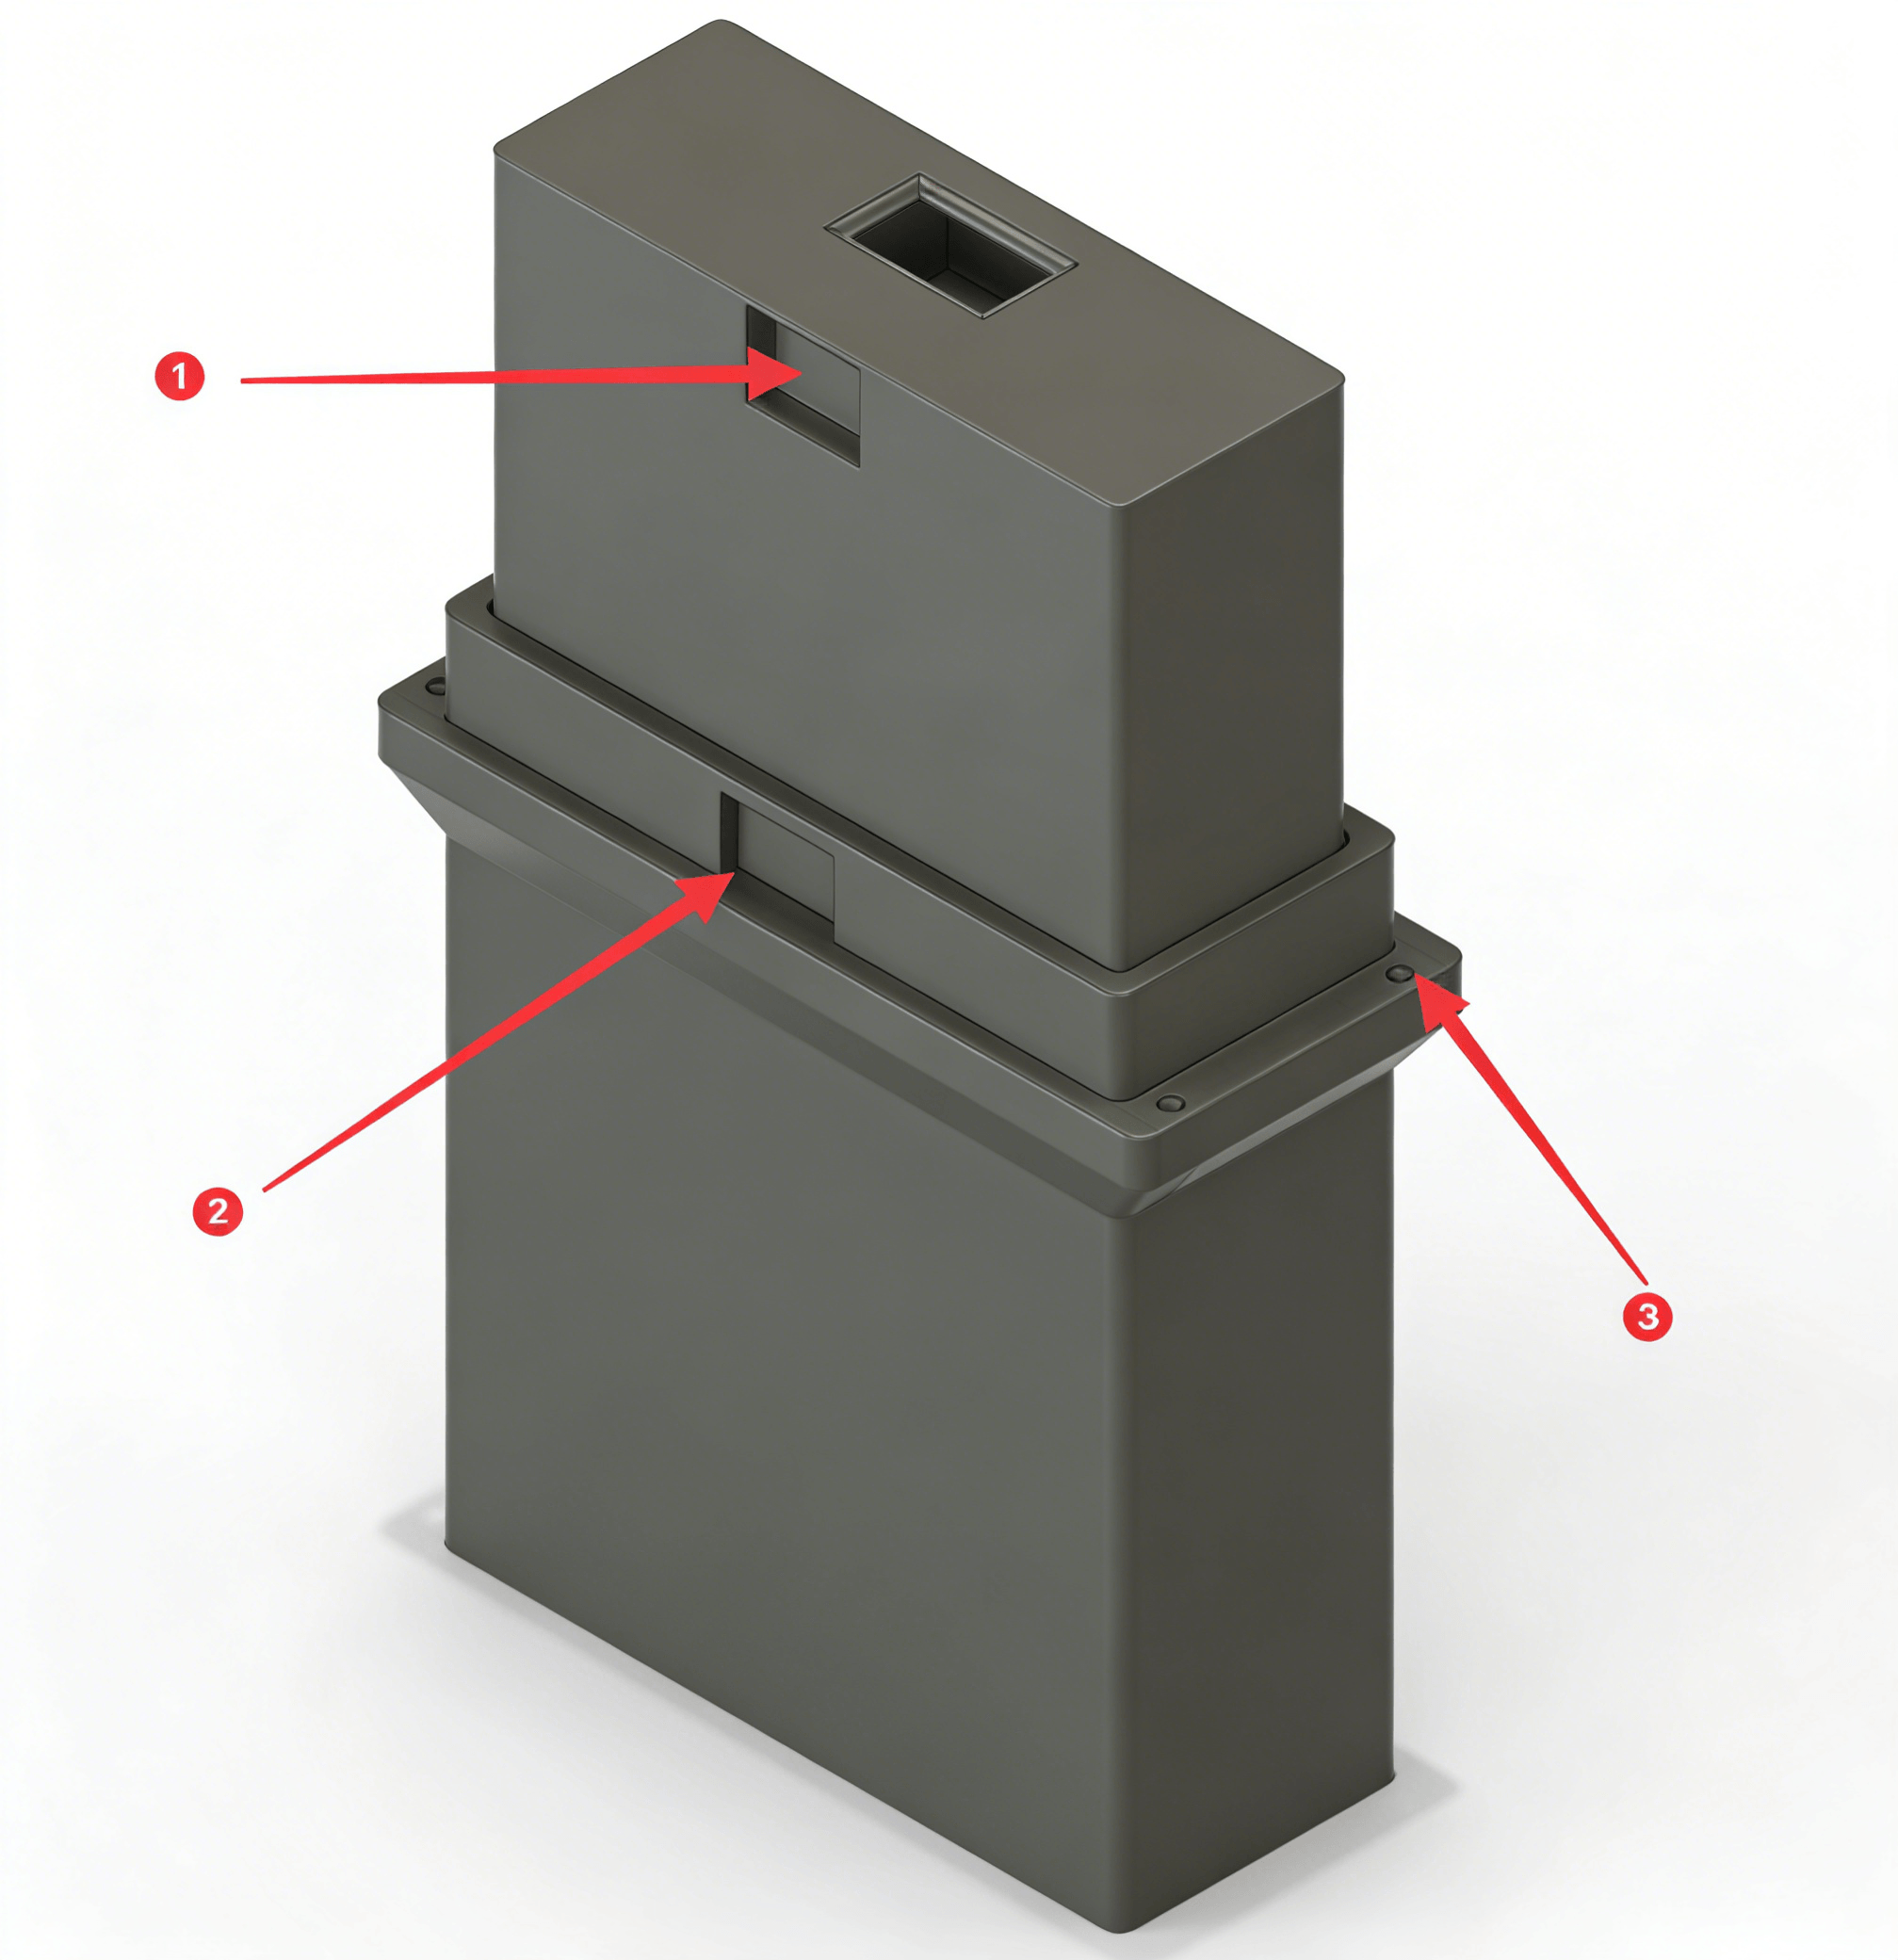
Module – Drawer
Magnet 20 × 10 × 5
Magnet 20 × 10 × 2
Phillips flat head screw M3 × 6
Installation Tips
Fix the magnets with glue.
If the drawer front is not flush after closing, add EVA foam to the rear of the drawer.
Prev
Module – Power Input
Next
Module – Pegboard